How a cabinet sits on the floor: legs, plinth and toe kick
The bottom few inches are the part nobody looks at and everybody relies on. They level the box on a floor that's never flat, hide the gap your toes stand in, and keep the cabinet up out of a spill. Here are the four ways a cabinet meets the floor — and when each one is the right call.
The short version: the base does three jobs — get the cabinet level on an uneven floor, hide the toe kick (the recess your feet slide into while you stand at the counter), and keep the box up off the floor where water lives. The base we reach for is a set of adjustable legs behind a clip-on kick panel: it's the easiest to level and the easiest to repair. Three other approaches — gables straight to the floor, a separate plinth, and wall-hung — each win in their own case. None is best at everything.
Why the base matters
A floor is never truly flat, and a wall is never truly straight. The base is where a rectangular box makes peace with a room that isn't square. Three words come up on every kitchen:
Toe kick — the recessed gap at the bottom front, so your feet tuck under while you stand at the counter. Ours sets the face back 1½ inches (40 mm) and stands about 4 inches (100 mm) tall.
Legs / feet — what actually carries the box and lets you level it. Behind the kick panel, out of sight.
Plinth — a base frame the cabinet sits on, or the kick panel that faces it off. The word gets used for both.
The reason this section exists at all is water and level. Chipboard (MFC) is fine dry, but an unprotected bottom edge sitting on a floor that gets mopped will drink water and swell. Lift the box off the floor, or band that edge, and the problem goes away. Everything below is a different answer to the same two questions: how do you get it level, and how do you keep the bottom dry.
Adjustable legs + kick · ours
Spin to level, clip on the face
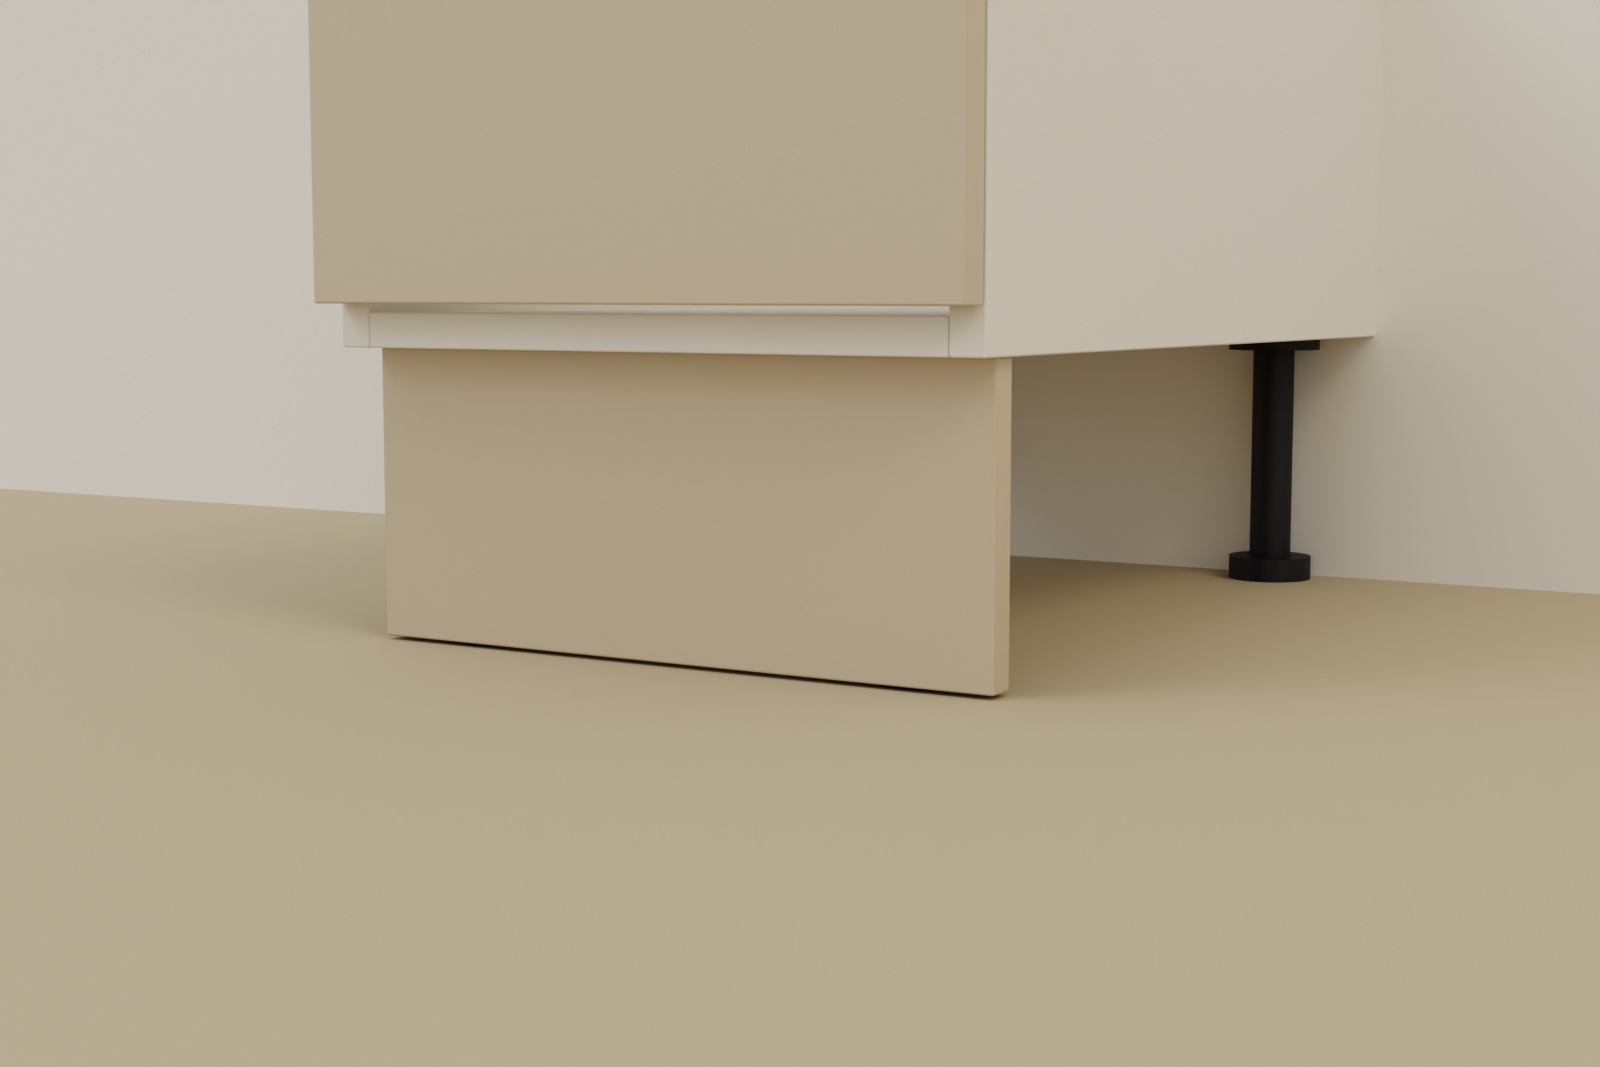
Four plastic feet on steel spindles carry the box; you turn each one on site to bring the cabinet dead level, with about 30 mm (1¼") of play. A separate toe-kick panel then clips across the front to hide them. It's the fastest base to level, and if the panel gets scuffed you swap that one part — not the cabinet.
Adjustable legs + a clip-on kick panel
This is the base we build around. Four adjustable feet — ABS bodies on steel spindles, sold in nominal 4-, 6- and 8-inch (100, 150, 200 mm) heights — screw to the underside of the box, one set back about 2 inches (55 mm) from each corner. A set of four is rated to roughly 500 kg, far more than a loaded base cabinet asks. You spin each foot by hand until the box is level, then a toe-kick panel clips across the front to hide the legs and close off the recess.
The trade-offs, honestly:
Easiest to level.Turn a foot, not a stack of shims. The ~30 mm window swallows a floor that dips across the run.
Repairable. The kick panel is a separate part, so a scuff, a knock or a bit of water damage means replacing one strip — not the side of a cabinet.
Off the floor.The box hangs 4–8 inches up, out of the way of a wet floor, with air moving underneath.
The catch:there's a visible recess (that's the toe kick), the clip-on panel is one more part that can pop off if it's knocked, and it needs fitting after the boxes are in.
A note on honesty: the legs are real hardware in the editor. The matching clip-on kick panel is a real accessory, but we don't draw it in the 3D preview yet — the section above shows the principle.
Sides to the floor
One clean line — if the edge is sealed
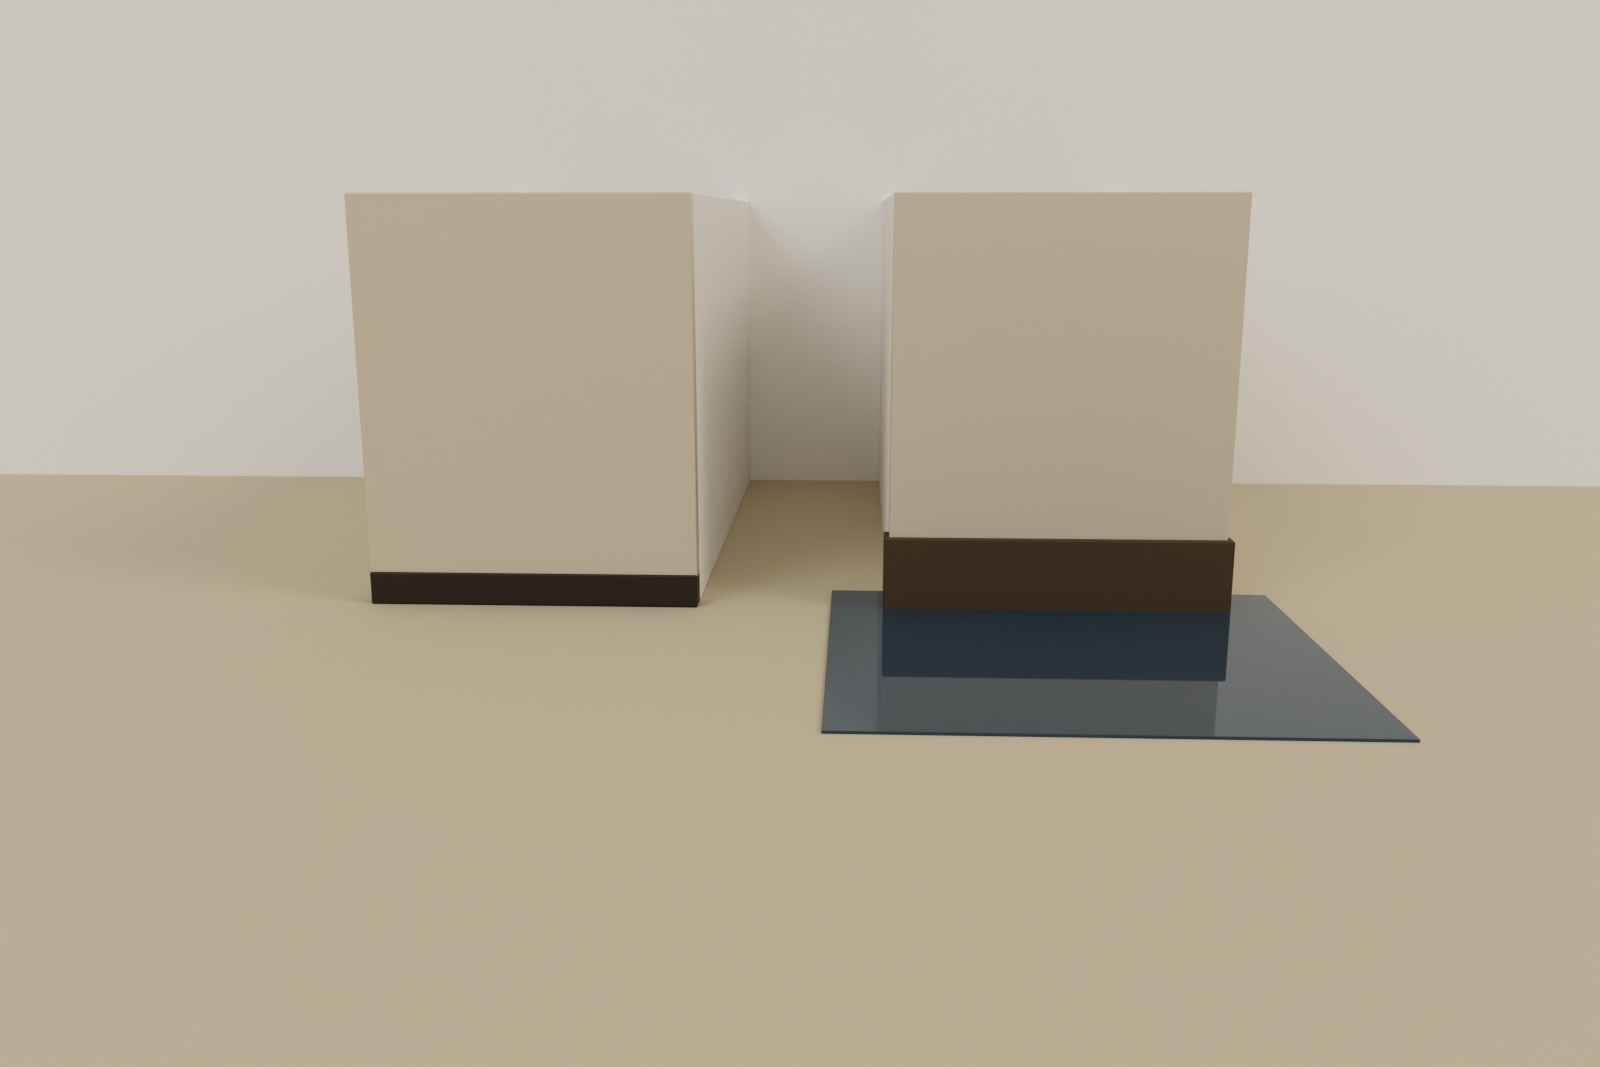
Running the sides straight to the floor gives that unbroken, furniture-like look. But the bottom edge now stands in whatever hits the floor. Banded (left), it's sealed and fine. Left bare (right) — which plenty of shops skip to save a step — chipboard wicks up water and swells. If you choose this base, the bottom edge is not optional.
Gables straight to the floor
Here the side panels — the gables— simply run down to the floor and the box stands on them. No legs, no separate base. It reads as one clean, monolithic line and it's the classic European look, especially on a single tall cabinet where you don't want anything breaking the vertical.
The catch is real and worth stating plainly. The bottom edge is now the floor contact, so it has to be edge-banded — ABS, PVC, melamine or veneer from the edge and hardware choices. A bare, unbanded chipboard edge on a mopped floor is the single most common way a cabinet rots from the bottom up: the core wicks water, swells, and there's no fixing it after. Many shops skip banding the hidden bottom to save a pass on the machine — don't let yours. Leveling is also harder, since the whole box has to meet the floor instead of four adjustable points.
Plinth box
A base frame the boxes sit on
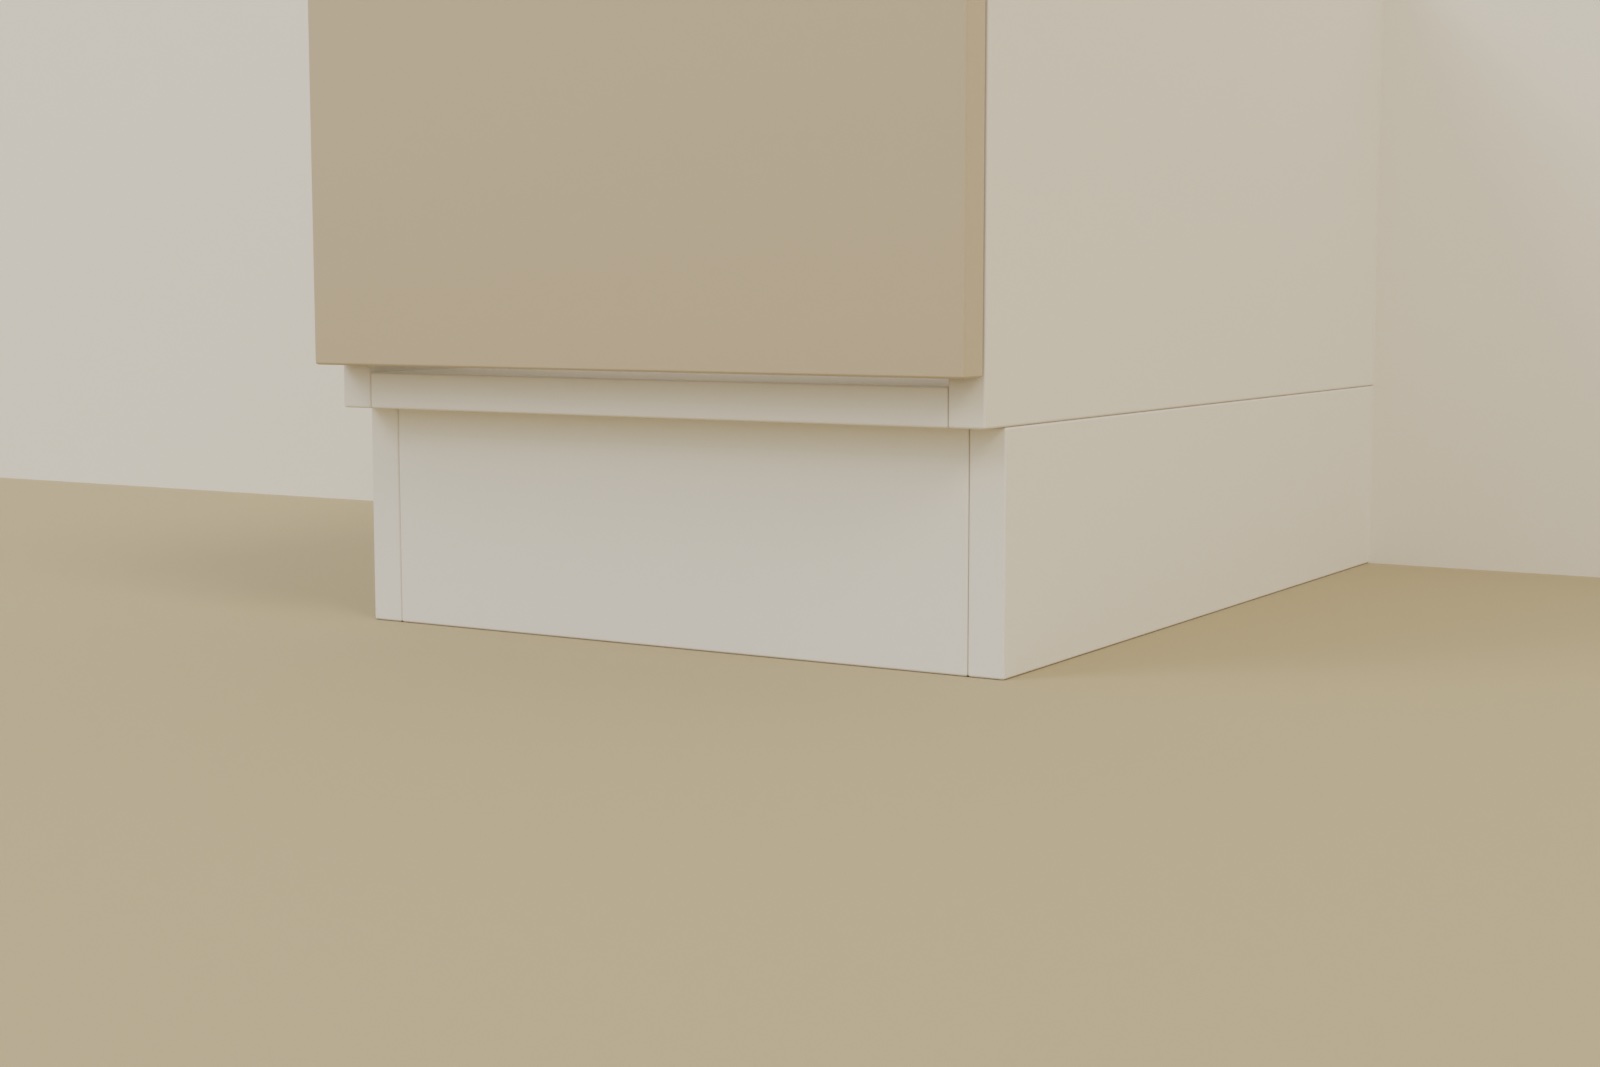
A separate low frame — a ladder base — takes the weight, and the cabinet sits on top of it. Set back 1½ inches (40 mm) from the front, it forms the toe kick itself. One continuous plinth can run a whole row of cabinets as a single, solid base.
A separate plinth (ladder base)
Instead of legs, the box sits on a purpose-built plinth — a low frame, sometimes called a ladder base for its rungs. In the editor this is the base box option: a frame the carcass rests on, held 1½ inches (40 mm) back from the cabinet face so it forms the toe-kick recess directly.
Solid and continuous. One plinth can carry a whole run of cabinets as a single base, which looks deliberate and sits very steady.
Easy to face. A flat plinth front is simple to clad or paint to match.
The cost:it's more material and more joinery than four feet, and it doesn't fine-tune to an uneven floor as readily as legs do — you level the plinth, then live with it.
Wall-hung
No base at all
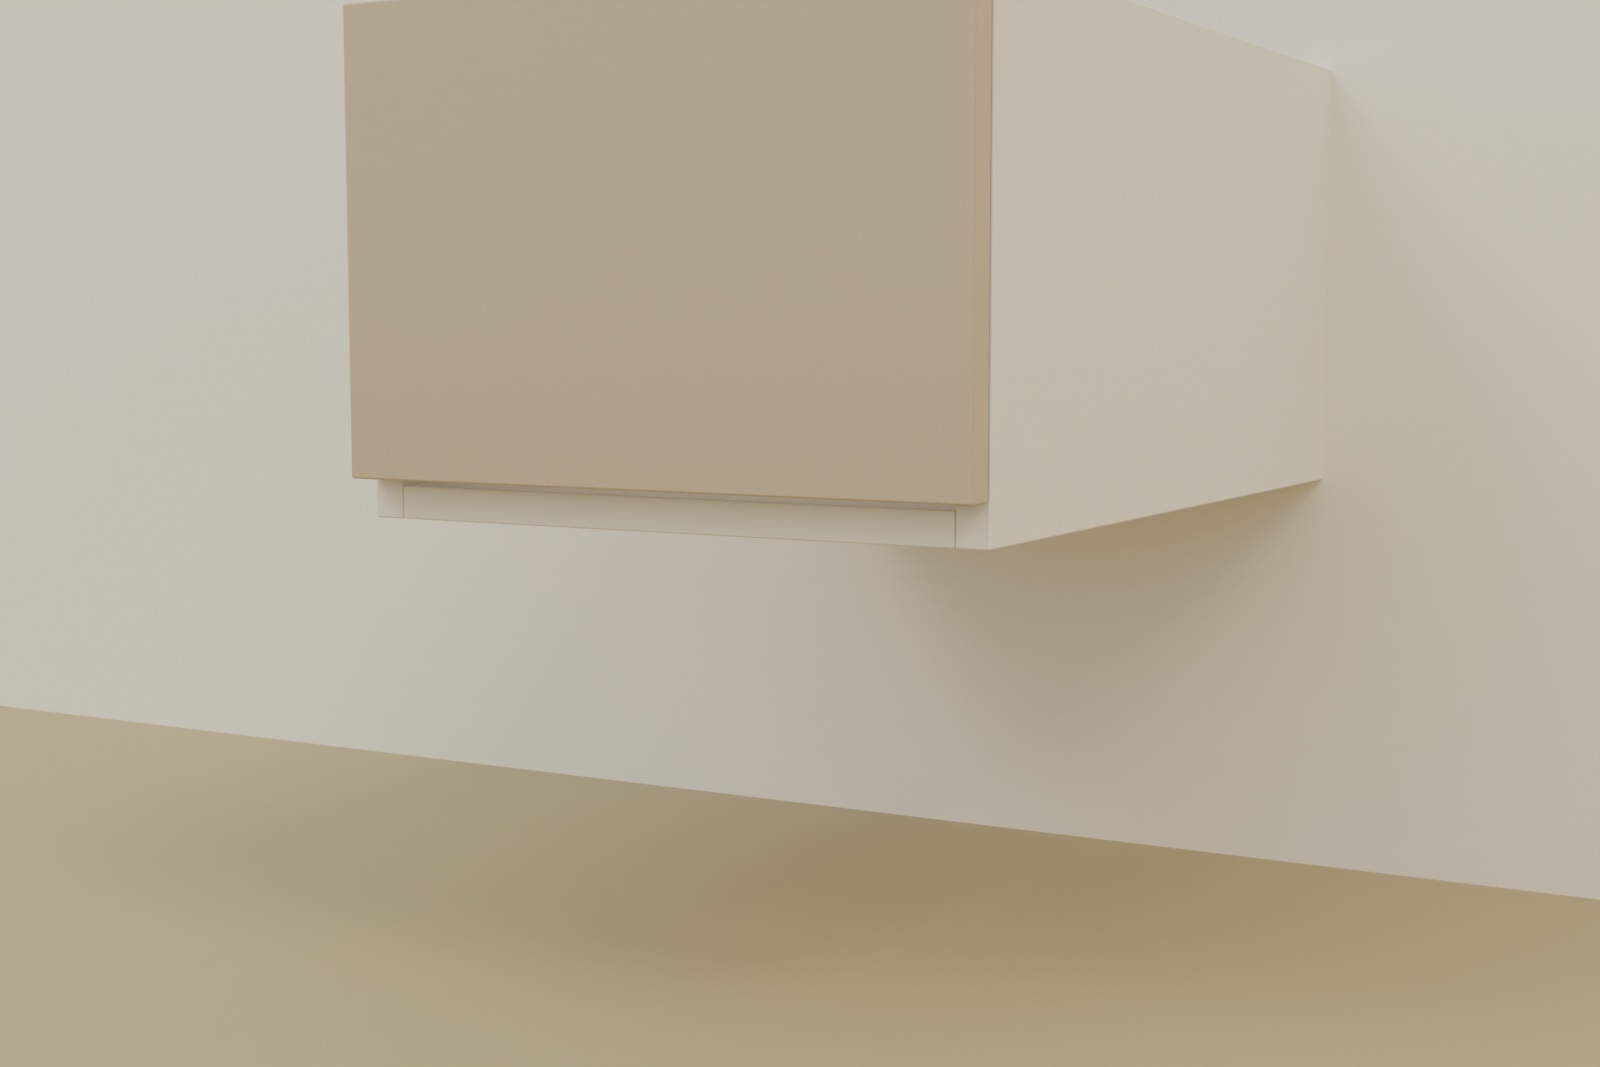
Hang the cabinet off the wall and the floor runs clean underneath. Nothing touches the ground, so nothing can wick water, and the floor reads bigger. The trade is that the wall has to carry the whole loaded weight — so it needs sound structure and a rated bracket, and it isn't right for every cabinet.
Wall-hung (floating)
The last option is to skip the base entirely and hang the cabinet on the wall. The floor runs clean underneath — easy to sweep and mop, nothing standing in water, and a light, modern look that makes a small room read bigger. Level comes from the wall rail, not the floor, so a whole row can be set true off one line.
What it asks in return is a sound wall. All the loaded weight goes into the fixings, so you need real structure behind the plaster and a bracket rated for it — this is a call to make with whoever installs. It suits lighter cabinets and a deliberate floating design more than a heavy run of base units carrying a stone counter.
Legs + kick
Sides to floor
Plinth box
Wall-hung
Leveling
Easiest — spin each foot on site; ~30 mm (1¼") of play to swallow an uneven floor.
Hardest — the box only sits flat on a flat floor; anything else needs shims.
Level the plinth once, then the boxes sit true on top of it.
Set by the wall rail, not the floor — level the rail and every box follows.
Water at the floor
Good — the box sits ~4–8" (100–200 mm) up, clear of a wet floor.
Weakest — the bare bottom edge stands in any spill unless it's banded.
Only the plinth touches the floor; the box itself is lifted clear.
Best — nothing touches the floor at all.
Repair
Swap one clip-on kick panel if it's scuffed — not the whole cabinet.
A swollen bottom edge means refinishing or replacing the side.
Re-face or replace the plinth without disturbing the boxes.
Box lifts off the rail; the floor under it stays clear to work on.
Look
A recessed toe kick — the standard kitchen look; the legs hide behind it.
One clean unbroken line to the floor — the European, furniture look.
A continuous plinth runs a whole run of cabinets as one base.
Floats off the floor — light, modern, and the floor reads bigger.
Cost & work
Cheap feet, fast to fit; the kick panel is an extra part.
No hardware, but the bottom edge MUST be banded — don't skip it.
More material and joinery to build the base frame.
Needs a sound wall and a rated bracket; not for every cabinet.
Which one, and when
Adjustable legs + kick — the default good choice for a kitchen: easiest to level over an uneven floor, off the wet, and the one part you might ever replace is a clip-on strip.
Sides to the floor— for a clean, furniture-like single cabinet where you want no visible break, and you're certain the bottom edge is banded.
Plinth box — for a long run that should read as one solid base, or where you want a continuous faced plinth.
Wall-hung — for a floating, easy-to-clean look on a wall that can take the weight, on lighter cabinets.
You don't have to decide in the abstract. Set the leg height, or switch to a base box, in the editor and see the toe kick and the floor gap change on the model before you commit.
Set the base to your floor
Choose adjustable legs or a plinth box, set the height, and watch the toe kick and floor gap update on the 3D model — then price it out to the millimetre.
The toe kick is the recessed gap at the bottom front of a base cabinet, so your feet can tuck under while you stand at the counter. On ours the face is set back about 1½ inches (40 mm) and the recess is roughly 4 inches (100 mm) tall. It's formed either by a clip-on kick panel in front of adjustable legs, or by setting a plinth back from the cabinet face.
How are base cabinets leveled on an uneven floor?
The easiest way is adjustable legs: four plastic feet on steel spindles screw to the underside of the box, and you turn each one by hand until the cabinet is level, with about 30 mm (1¼ inches) of adjustment. A toe-kick panel then clips across the front to hide them. A plinth base is leveled once and the boxes sit on top; a wall-hung cabinet is leveled off its wall rail instead of the floor.
What's the difference between cabinet legs and a plinth?
Legs are individual adjustable feet under the box that you level on site, with a separate kick panel clipped in front. A plinth is a continuous base frame the cabinet sits on, set back to form the toe kick. Legs are faster to level and repair; a plinth reads as one solid base under a whole run and is easy to face, but it's more material and less adjustable.
Do cabinet sides need edge banding at the bottom?
If the sides run to the floor, yes — the bottom edge is essential to band. Bare chipboard (MFC) at floor level wicks up any water from a spill or a mop and swells, and it can't be repaired after. ABS, PVC, melamine or veneer banding seals it. Cabinets on legs or a plinth sit up off the floor, so the risk is much smaller, but banding the bottom is still cheap insurance.
Can cabinets be wall-hung with no legs?
Yes — a wall-hung or floating cabinet fixes to the wall with nothing touching the floor, which keeps the floor clear and clean and eliminates water contact at the base. It needs a sound wall and a bracket rated for the loaded weight, so it's a decision to make with your installer and it suits lighter cabinets better than a heavy run carrying a stone counter.
How tall is a cabinet toe kick?
A typical toe kick is around 4 inches (100 mm) tall and set back about 1½ inches (40 mm) from the cabinet face. With adjustable legs you can go taller — nominal legs come in 4-, 6- and 8-inch (100, 150, 200 mm) heights, each with about 30 mm of on-site adjustment — which also sets how high the box sits above the floor.